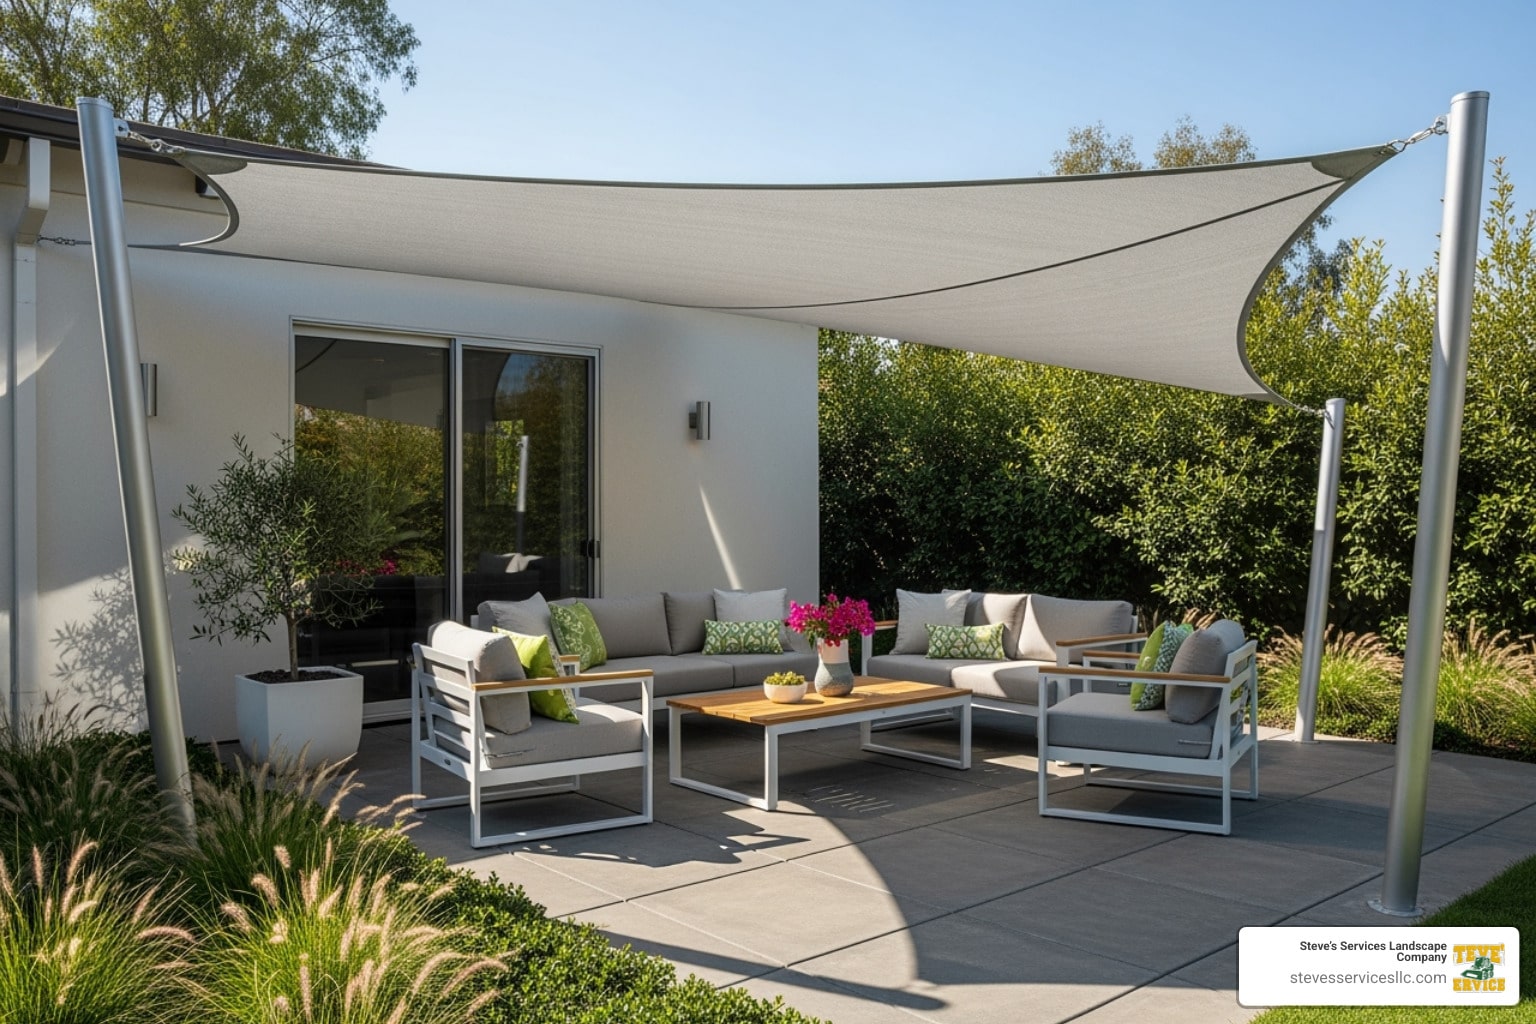
How to install a sail over a patio: Flawless 2025
Why Proper Shade Sail Installation Makes All the Difference
How to install a sail over a patio requires careful planning and proper technique to create a safe, functional shade solution. The process involves:
- Planning your layout by analyzing sun patterns and measuring your space.
- Choosing anchor points on your house or installing new posts.
- Installing hardware like mounting plates, eye bolts, and turnbuckles.
- Positioning the sail, starting with the highest points.
- Applying tension with turnbuckles for proper tautness.
- Checking drainage by ensuring one corner is lower for water runoff.
A shade sail transforms your outdoor space by blocking up to 95% of harmful UV rays and reducing ambient temperatures. These versatile structures cover large areas without blocking natural light from entering your home.
However, improper installation is dangerous. An 18×18 foot shade sail can exert 810 pounds of force per connection point during wind gusts. Weak anchor points can damage your home or cause the entire system to fail.
As Steve Sylva, owner of Steve’s Services with over 25 years of experience, I’ve seen many DIY disasters. My team helps Massachusetts homeowners understand how to install a sail over a patio safely as part of our comprehensive outdoor living solutions.
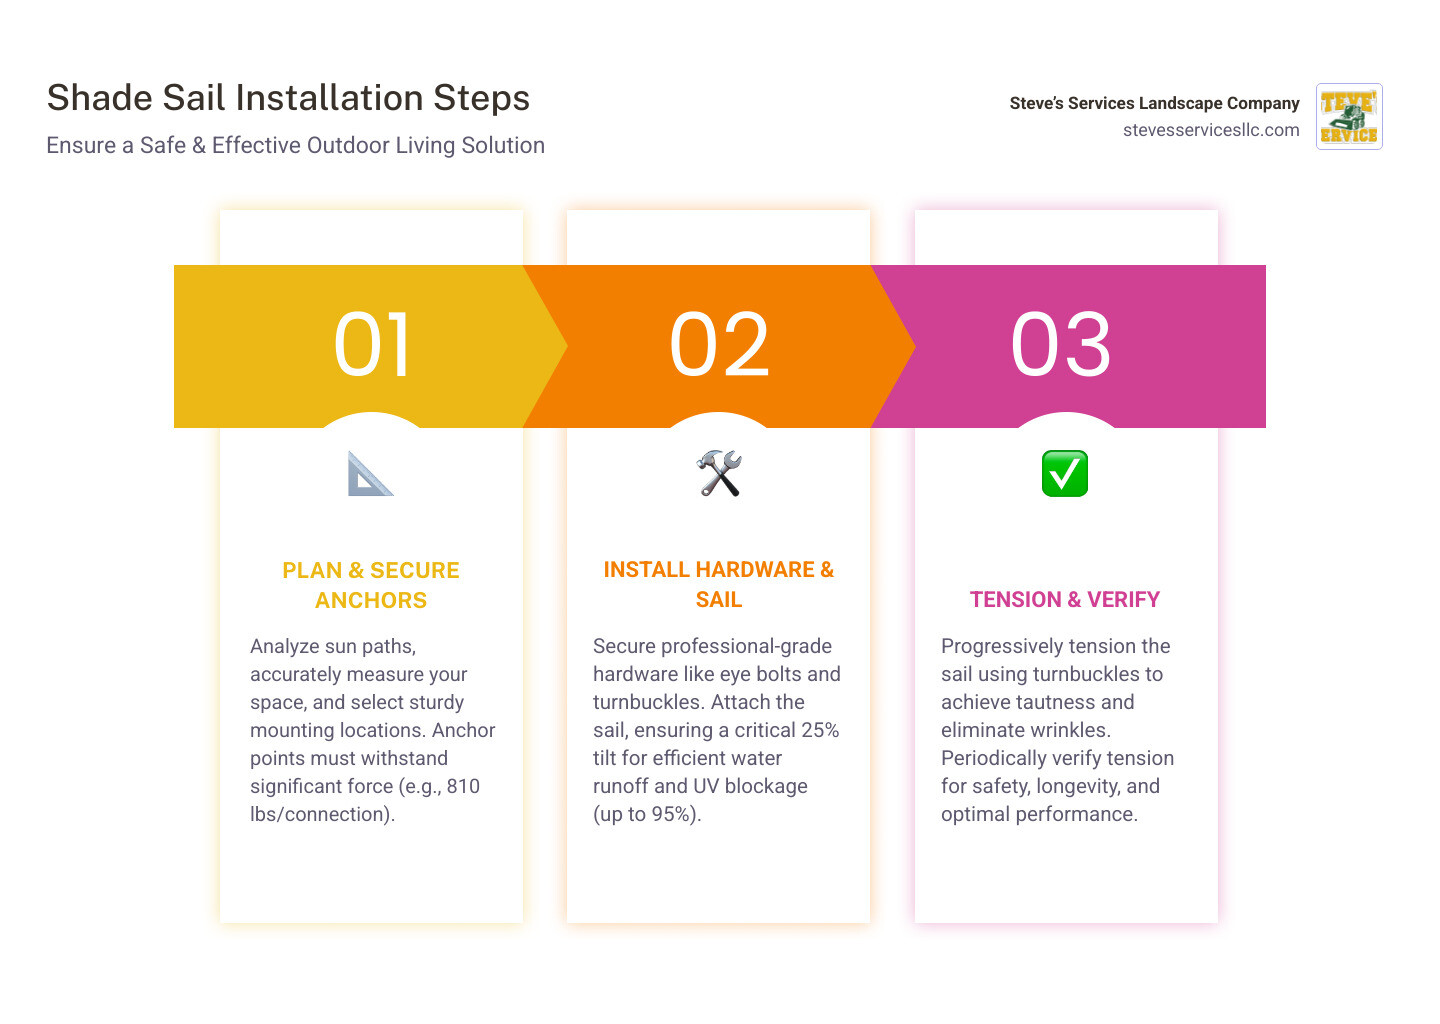
How to install a sail over a patio terms simplified:
The Blueprint for Success: Planning Your Shade Sail Installation
Meticulous planning is the secret to a stunning and stable shade sail. Before touching any tools, we analyze your patio layout and perform a thorough sun path analysis – for a deeper dive into how the sun moves across the sky, see this overview of the sun path. We observe where the sun hits your patio throughout the day and seasons to pinpoint the ideal placement and height for maximum shade.
Next, we consider the sail’s shape and material. Sails come in triangles, squares, and rectangles, each with concave curves on the sides. These curves are essential for proper tensioning, keeping the sail taut and preventing sagging.
When it comes to fabric, you’ll choose between two main types:
- Waterproof sails, made from coated polyester, keep you dry but demand a steep angle to shed water. We recommend a 25% tilt to prevent rain from pooling, which can create heavy pockets that stress the fabric and anchors.
- Breathable sails, made from high-density polyethylene (HDPE), allow air to flow through, keeping the area cooler and preventing water from pooling. However, they don’t offer full protection from rain.
Measurement accuracy is critical. The shade sail itself must be smaller than the distance between its mounting points to allow space for hardware and proper tensioning. A good rule is to allow 1 to 3 feet between the sail corner and its fixing point, meaning the sail should be about 2 feet shorter than the span.
We often use string to “prototype” the sail’s placement, visualizing the shade pattern and double-checking measurements before any permanent work begins. This also helps us apply the “1:5 height variation rule,” where the height difference between the highest and lowest points is at least one-fifth of the sail’s length for optimal performance and aesthetics.
For more insights into creating the perfect outdoor retreat, dive into our page on outdoor patio design.
Gathering the Right Gear: Professional Tools & Materials
Creating a perfect shaded oasis requires the right gear. The success and longevity of your shade sail installation hinge on quality materials and professional tools. At Steve’s Services, we prioritize durable, weather-resistant components to ensure your sail stands strong against the elements.
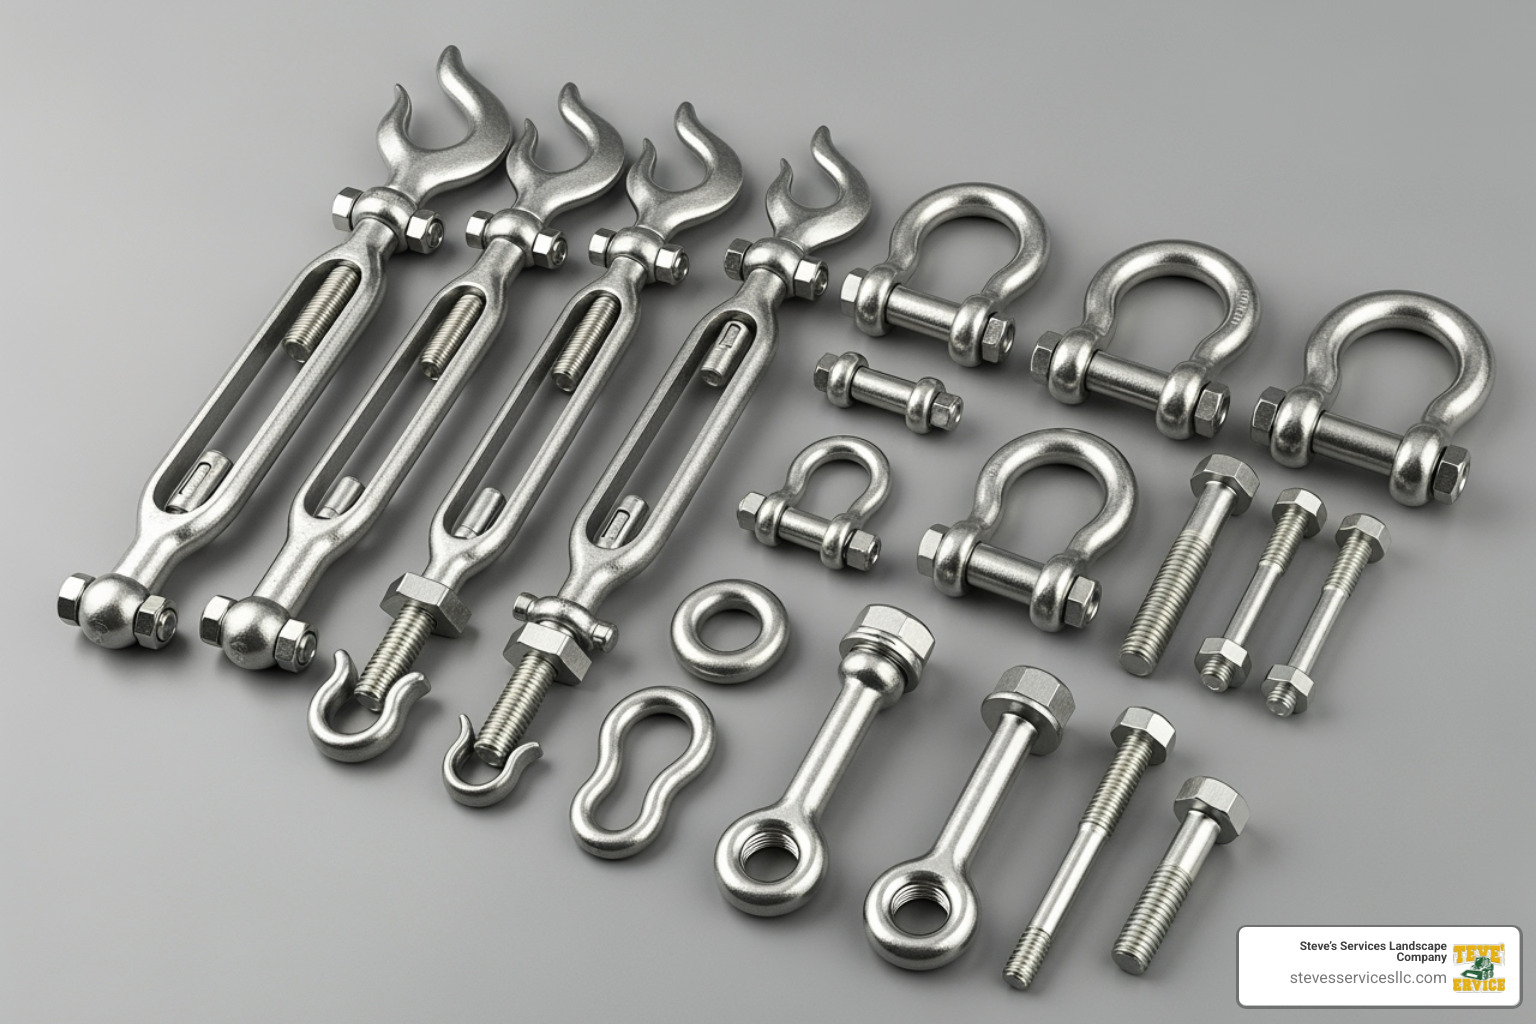
The sail fabric is typically high-density polyethylene (HDPE) or a durable, UV-resistant polyester, chosen for its strength and ability to block harmful rays. For hardware, we insist on stainless steel for its resistance to rust and corrosion, which is vital in Massachusetts weather. Key hardware includes:
- Turnbuckles: Allow for precise tension adjustment to eliminate wrinkles and sagging.
- D-shackles: Strong connectors that link the sail’s corners to anchor points.
- Eye bolts or Eye plates: Sturdy anchors fastened to the house or posts.
- Wire rope: Used for longer spans or for extra strength.
For support, we use heavy-gauge steel posts or robust treated wood posts (often 6x6s) that can handle significant wind forces. A high-quality concrete mix is essential to create solid footings that can withstand the sail’s pull.
Our professional toolkit includes a heavy-duty drill, impact driver, a precise laser level, and a tape measure. For new posts, a post-hole digger is a must. Safety equipment like gloves, eye protection, and hard hats is non-negotiable to protect our crew and your home.
By combining superior materials with specialized tools, we ensure your shade sail installation is not just beautiful, but built to last. This is how we approach how to install a sail over a patio—with precision, quality, and safety.
How Professionals Install a Sail Over a Patio: The Core Steps
Installing a shade sail is about creating a structure that can safely handle tremendous forces while looking perfect. The difference between a professional installation and a DIY disaster lies in understanding these core principles.
How to Install a Sail Over a Patio by Securing Rock-Solid Anchor Points
Anchor points are the most critical component. A typical 18×18 foot sail can exert 810 pounds of force per connection point during wind gusts.
When attaching to a house, our top priority is structural integrity. We locate the home’s frame, such as wall studs or, for larger sails, roof rafters and the top plate. These structural “bones” are essential for handling the sail’s wind load. We often use spreader plates to distribute the load across multiple structural members, protecting your home. While brick and concrete can handle direct mounting, we never attach to siding or stucco, as they will fail under pressure.
Sealing wall penetrations is critical. Every hole drilled through an exterior wall is a potential entry point for water and pests. We carefully seal all penetrations to prevent future damage. We also advise against using trees or existing fence posts as anchors, as they are not stable enough for a tensioned sail.
For a better understanding of how we approach structural connections, you can view a technical diagram of a secure wall attachment. And if you’re thinking about enhancing your entire outdoor space, our hardscaping services can create the perfect foundation.
Installing New Support Posts
Often, the most reliable approach for how to install a sail over a patio is creating new anchor points with dedicated support posts.
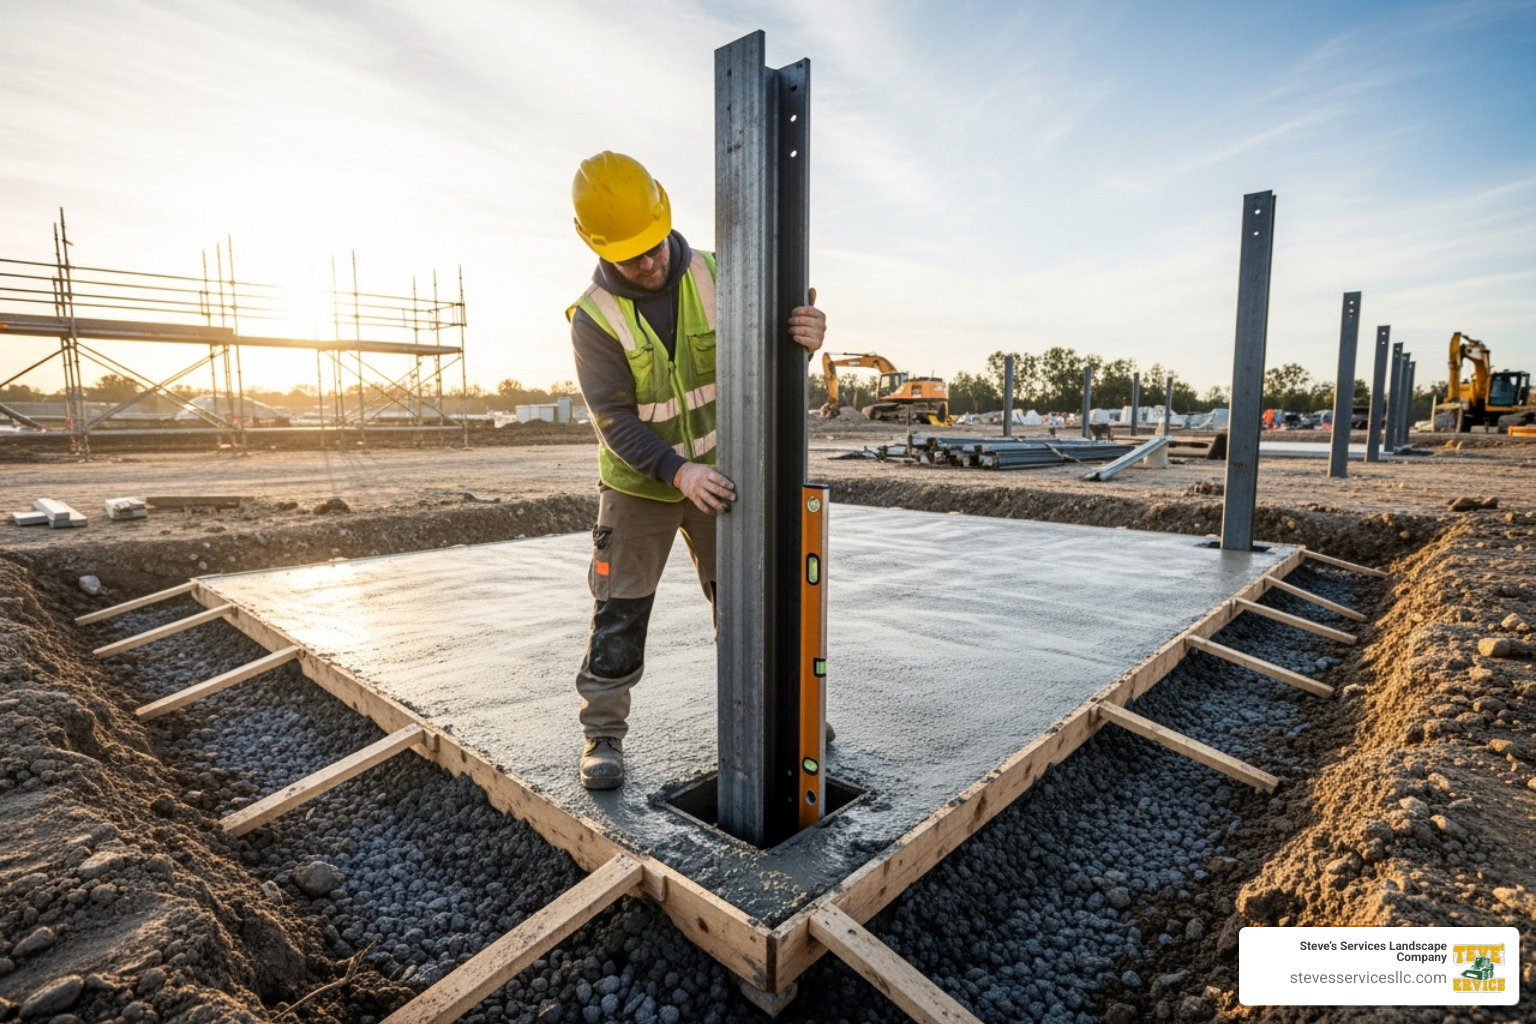
Before we dig, we contact local utility companies to avoid hitting gas or electrical lines. For footings, we dig holes that are typically 16×16 inches and 32 inches deep, or larger for bigger sails. These foundations are designed to resist the constant pull and uplift forces from wind.
When setting posts in concrete, we ensure each one is perfectly plumb using levels and bracing. Patience is key: we allow 48 hours for concrete to cure before applying tension. Rushing this step is a common mistake. Posts are typically 8 feet or higher to ensure adequate clearance under the sail.
The Final Hoist: How to Install a Sail Over a Patio and Achieve Perfect Tension
Achieving perfect tension is a critical final step, affecting both the appearance and longevity of your shade sail.
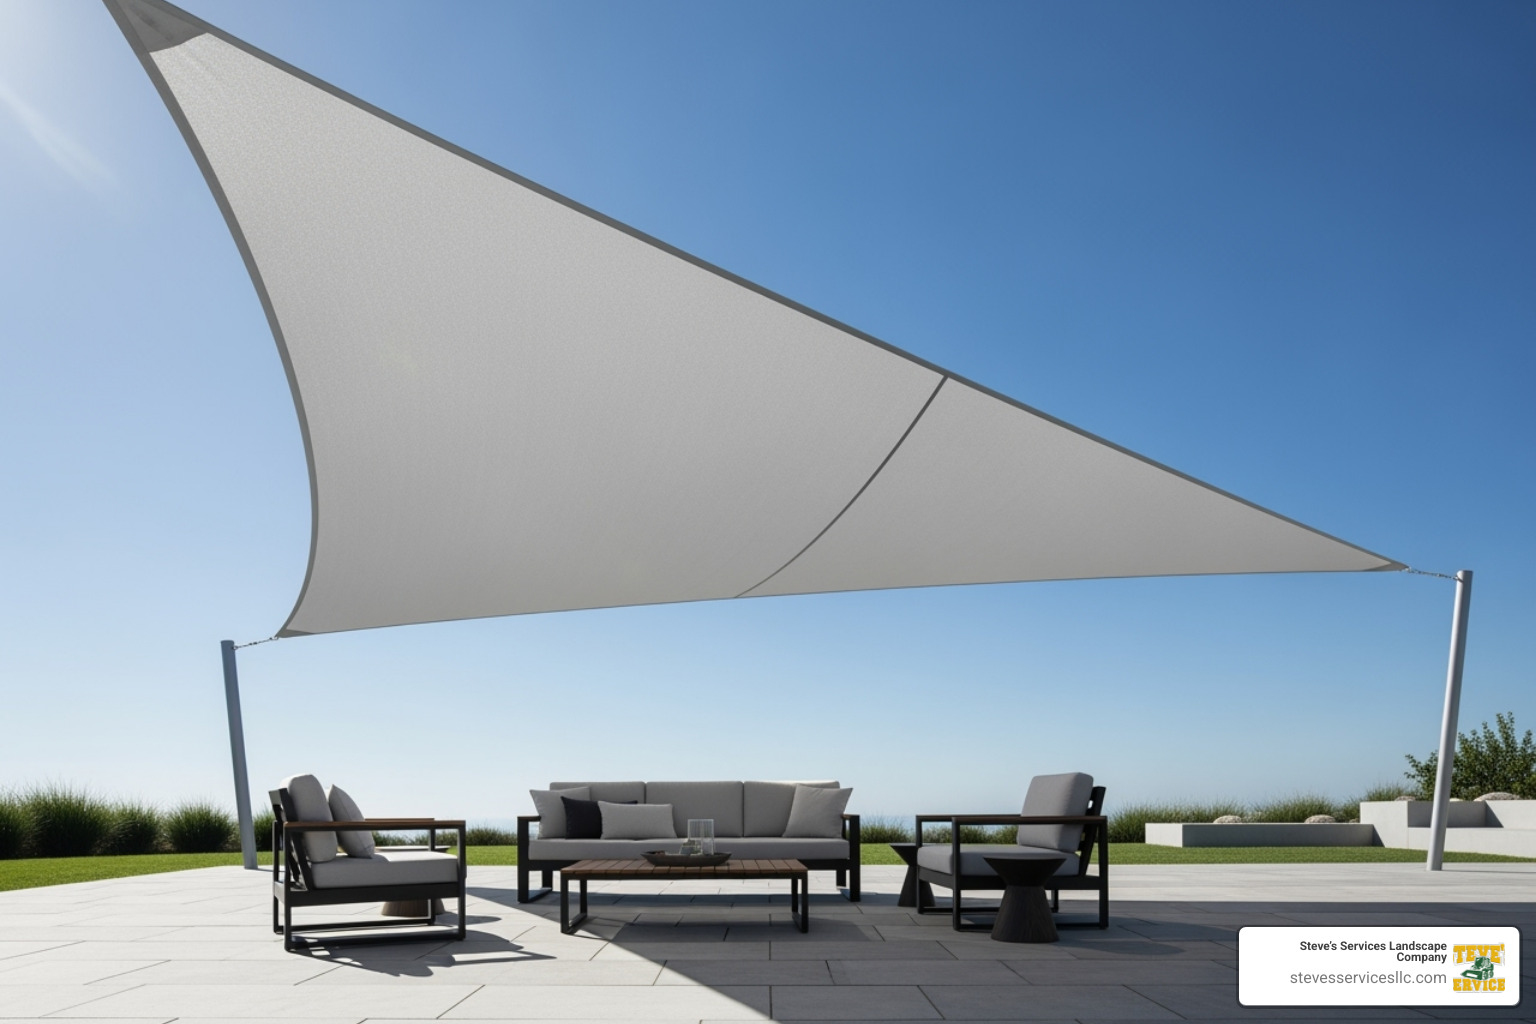
We start by connecting corners loosely, beginning with the highest points first. Progressive tensioning is key. We systematically and gradually tighten each connection point to achieve even tension across the fabric. All connections should face the sail’s center for optimal force distribution.
We use turnbuckles for adjustment, fine-tuning each corner to eliminate wrinkles and sagging. The result is a perfectly stretched canvas with crisp, clean lines that will provide years of comfortable shade.
Safety, Maintenance, and Longevity
A shade sail is a significant home improvement, but it comes with responsibilities. At Steve’s Services, safety and long-term durability are our top priorities, ensuring your sail performs flawlessly for years.
Safety First: Avoiding Common Installation Pitfalls
Improper installation can be hazardous. Our strict safety protocols ensure your sail is installed to withstand the elements, protecting your property and family.
An 18×18 foot shade sail can exert over 800 pounds of force per connection point in wind. Our anchor points are engineered to handle these loads, often using special hardware to distribute stress and protect your home’s structure. Before digging, we always contact local utility companies to prevent dangerous strikes on underground lines. We also check for overhead power lines to avoid any risk.
Our team is trained in proper ladder safety for working at heights. We also avoid over-tensioning the sail, which can strain the fabric, hardware, and your home’s structure. When anchoring to your house, we carefully seal any penetrations to prevent water intrusion and pests, always fastening to solid framing.
Keeping Your Sail Shipshape: Maintenance and Care
Your shade sail requires some maintenance to extend its lifespan. We recommend regular cleaning with mild soap and water. Inspect all hardware for wear annually, especially after severe weather, and replace any compromised parts promptly.
Check tension periodically and tighten turnbuckles if you notice any sagging. In Massachusetts, seasonal removal for winter is critical. Shade sails are not designed for heavy snow or ice. Removing your sail before winter prevents damage, reduces stress on anchors, and prolongs its life. It’s also wise to take it down during extreme wind storms.
Adjusting and Removing Your Shade Sail
A key advantage of a shade sail is its flexibility. Turnbuckles are perfect for adjustments, allowing you to easily restore tautness if the sail loosens over time.
The ease of removal is another benefit, especially for seasonal storage. Some systems can be taken down in minutes. We often incorporate pulley systems to make loosening and lowering the sail simple.
Storing it properly is key to its longevity. Ensure the sail is clean and dry before folding or rolling. Store it in a cool, dry place away from pests and sunlight during the off-season to keep it ready for spring.
Frequently Asked Questions about Patio Sail Installation
What are the benefits of installing a shade sail?
Shade sails offer significant benefits. They provide excellent sun protection, blocking up to 95% of harmful UV rays, and reduce the ambient temperature underneath, making your patio more comfortable. A well-installed sail also creates a stylish “outdoor room,” boosting the aesthetic appeal of your backyard patio.
How much does a professional shade sail installation cost?
While basic materials can be inexpensive, professional installation is an investment in safety. A large sail must be secure enough to handle wind and weather. Based on general internet data, professional installation costs can range from $1,000 to $5,000 or more. This wide range depends on project size, the need for new posts, anchoring complexity, and material quality. Please note this is an average based on internet data, not a specific quote from Steve’s Services. We provide personalized estimates based on your project’s unique needs.
Can a shade sail be used in the rain?
Yes, but proper planning is crucial. A waterproof shade sail must be installed with a significant slope—we recommend a 25% tilt—to allow rainwater to run off. Without this angle, water can pool and cause damage. In contrast, breathable shade sails (HDPE) let water pass through, so they don’t pool water but also don’t offer full rain protection. When planning how to install a sail over a patio for you, we’ll help you choose the right material and angle for your needs.
Conclusion
We’ve covered the key steps for how to install a sail over a patio, from planning to achieving perfect tension. A shade sail is more than just fabric; it’s a transformative addition that brings style, sun protection, and comfort to your outdoor space.
A successful installation demands meticulous planning, high-quality materials, and an understanding of the structural forces and safety considerations involved.
For a flawless and secure installation, consider the expertise of a professional team. At Steve’s Services, our approach emphasizes careful planning and precision. We handle every detail to ensure your new oasis is beautiful, structurally safe, and durable.
We love helping Massachusetts homeowners in communities like Burlington, Danvers, Everett, Lynnfield, Medford, Melrose, North Reading, Reading, Revere, Saugus, Stoneham, Winchester, Woburn, Malden, and Wakefield create beautiful and functional outdoor living areas.
Instead of wrestling with the intricacies of how to install a sail over a patio yourself, let us help you enjoy your patios and decks without the frustration. Reach out to Steve’s Services today for a consultation. We’re ready to make your shade sail dreams a reality!