
How to install concrete slab patio: 3 Perfect Steps
The Enduring Appeal of a Concrete Patio
Learning how to install concrete slab patio can transform your backyard. A concrete patio offers a solid, versatile space for relaxation or entertaining. It can be a simple, functional area or a highly decorative focal point.
If you’re looking for a quick overview of the installation process, here are the key steps:
- Site Preparation: This involves marking the area, excavating, and laying a stable subbase.
- Form Building: You create and set up the temporary frame that holds the wet concrete.
- Concrete Pouring: This means mixing and placing the concrete within your prepared forms.
- Surface Finishing: You will screed, float, and texture the concrete surface for a smooth or non-slip finish.
- Joint Creation: Control joints are cut into the concrete to manage potential cracking.
- Curing: The concrete needs time to harden and gain maximum strength, which requires keeping it moist.
- Sealing: Finally, applying a sealer protects the patio from stains and water damage.
Building a concrete patio yourself can save you a lot of money, sometimes 40% to 50% of the cost of hiring someone. But it’s a project that demands good planning, proper preparation, and quick action.
Steve Sylva, owner of Steve’s Services, brings over 25 years of experience in landscape maintenance, installation, and hardscaping, including the expert installation of concrete slab patios for homeowners and commercial property managers. His company ensures durable and beautiful results, built on a foundation of quality and integrity.
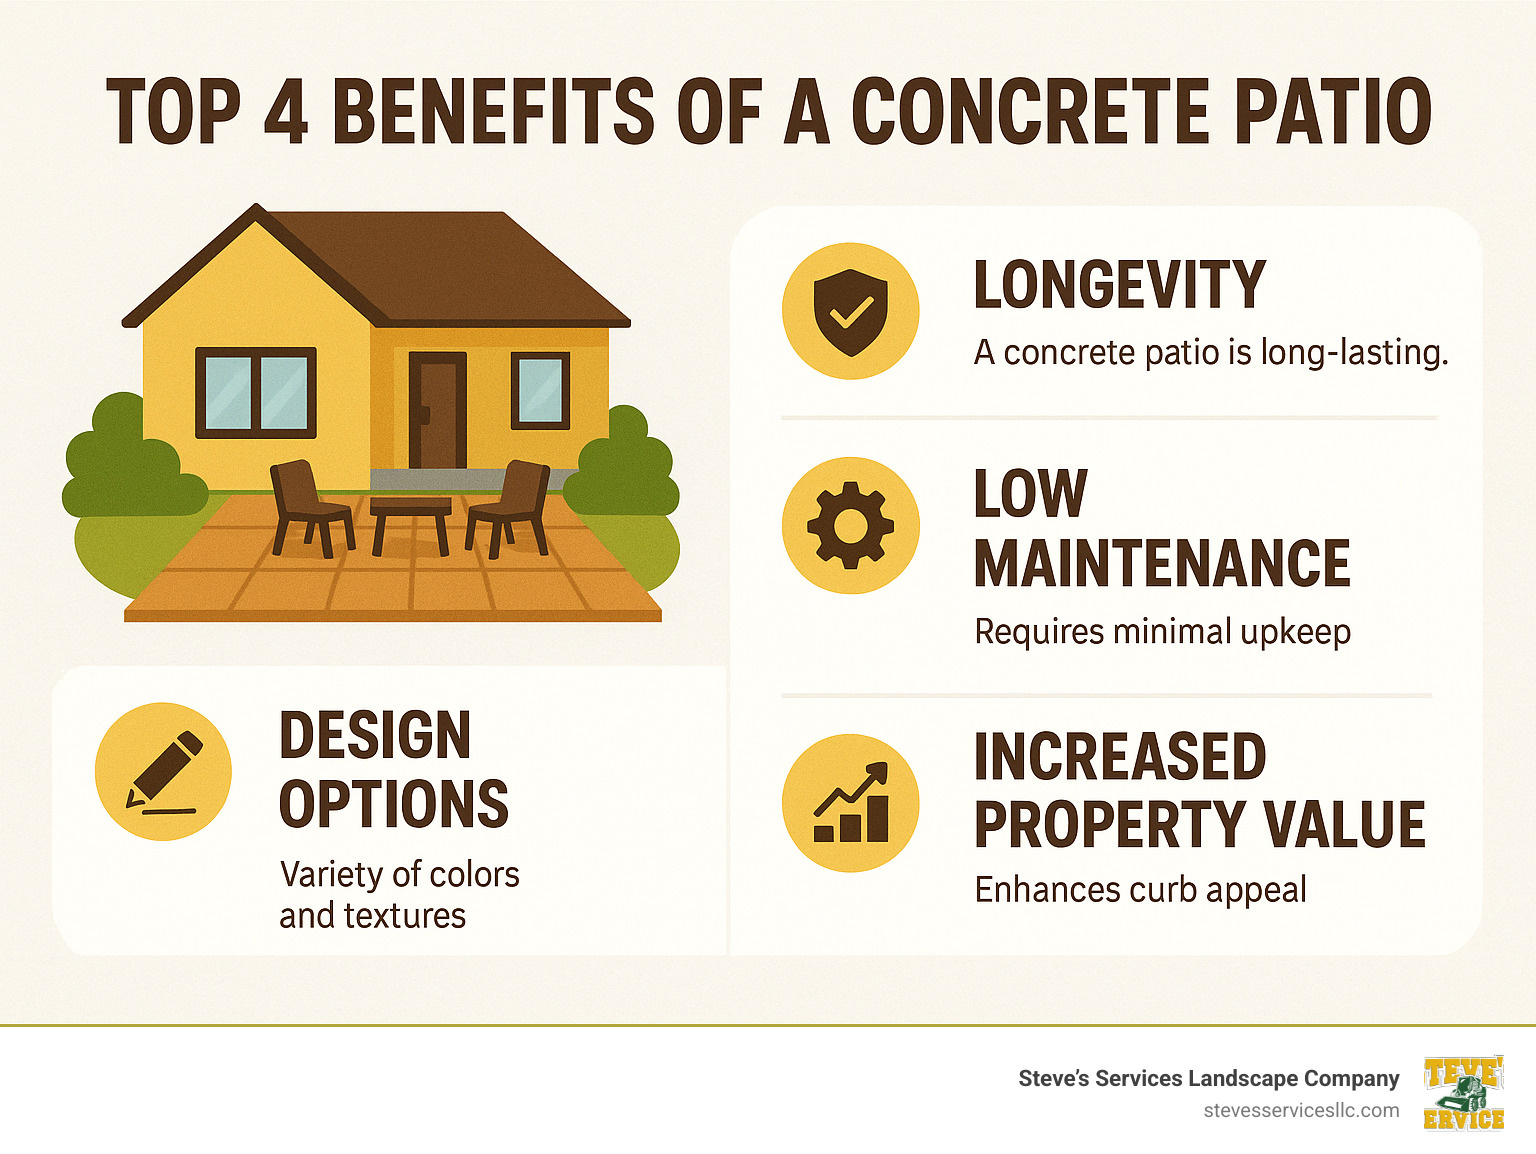
How to install concrete slab patio terms at a glance:
Planning Your Project: Key Considerations Before the Pour
Before any concrete is poured, meticulous planning is the cornerstone of a successful patio project. We truly believe this phase is critical, as it lays the groundwork for how durable, functional, and beautiful your new outdoor space will be. It’s all about getting things right from the very beginning.
Our site assessment always starts with a thorough look at your property. We carefully evaluate the existing slope, which is super important for good drainage. Think about it: an improperly sloped patio can lead to standing water, which might cause issues like erosion around your home or even problems with your house’s foundation over time. To avoid this, we typically aim for a slight slope of 1/8 to 1/4 inch per foot away from any structures. This ensures water gracefully runs off, just like it should.
Understanding the soil conditions beneath your future patio is also vital. We might dig a test hole to check the soil type – whether it’s sandy, clay, or a mix – and how well it compacts. The most important part of preparing the ground is making sure it’s stable, compact, and drains well.
If the ground isn’t stable, it can shift and flex, which might lead to unsightly stress cracks in your concrete down the road. While slightly damp soil is great for compaction, we definitely don’t want water pooling on top; that tells us it’s too wet to start. For tricky soil conditions, like very sandy or loose ground, we might even consult with a landscape engineer to ensure we build the best possible foundation for your patio.
Navigating local building codes and permit requirements is non-negotiable. Every community, including those we serve in Massachusetts like Everett, Burlington, Danvers, and Woburn, has specific rules for construction projects. We always check with the local building department to ensure our plans meet all necessary guidelines and to secure any required permits. This step protects you and your investment.
A crucial first step, and one we never, ever skip when planning how to install concrete slab patio, is to check for underground utilities. Before any digging begins, we make that important call to 811 to have all utility lines marked. This simple action prevents accidental damage to gas, water, electrical, or communication lines, which can be both dangerous and extremely costly. A crucial first step is to check for underground utilities.
The slab thickness is another key consideration. For standard residential patios that will see typical foot traffic and light furniture, a 4-inch thick concrete slab is usually just right. However, if you plan to place heavier items on your patio, such as a large outdoor kitchen, a cozy hot tub, or a grand gazebo, we highly recommend a thickness of 6 to 8 inches or even more. This added thickness provides the necessary strength to support the increased weight and helps prevent future cracking or settling. Always consider how you’ll use your patio when thinking about its thickness!
Beyond just function, design options play a huge role in how your patio blends with your home and landscape. Concrete patios offer incredible versatility. While a basic broom finish provides a practical, non-slip surface, we can also explore decorative options like stamped concrete to mimic the look of stone or brick patterns, or even add color to the concrete mix for a truly unique aesthetic. Our team can help you envision the perfect outdoor space that reflects your style. For more inspiration, explore our Outdoor Patio Design services.
When considering the project cost, it’s important to understand the various factors involved. These typically include:
- Material costs: for concrete, the gravel subbase, forms, and reinforcement.
- Labor costs: for the excavation, formwork, pouring, and finishing.
- Equipment rental: for heavy machinery like excavators and plate compactors.
While pouring your own patio can potentially save you money (some sources suggest 40-50%), it’s a significant undertaking that requires specialized knowledge, specific tools, and a lot of physical effort. The average cost for a professionally installed concrete patio can range widely, from approximately $4,000 for a basic 10×10 foot patio to over $12,000 for larger, more complex designs with decorative finishes. Please remember, these are average internet estimates and not actual costs for Steve’s Services, as every project is unique and will receive a custom quote.
The Professional Process for How to Install a Concrete Slab Patio
Learning how to install concrete slab patio professionally isn’t just about mixing cement; it’s a detailed craft that requires precision, powerful equipment, and a whole lot of elbow grease! That’s why we always recommend trusting the experts for such a significant home improvement. While a DIY project might sound tempting, working with concrete is incredibly demanding and unforgiving. One misstep can lead to a patio that cracks too soon, doesn’t drain right, or simply doesn’t look as beautiful as you dreamed.
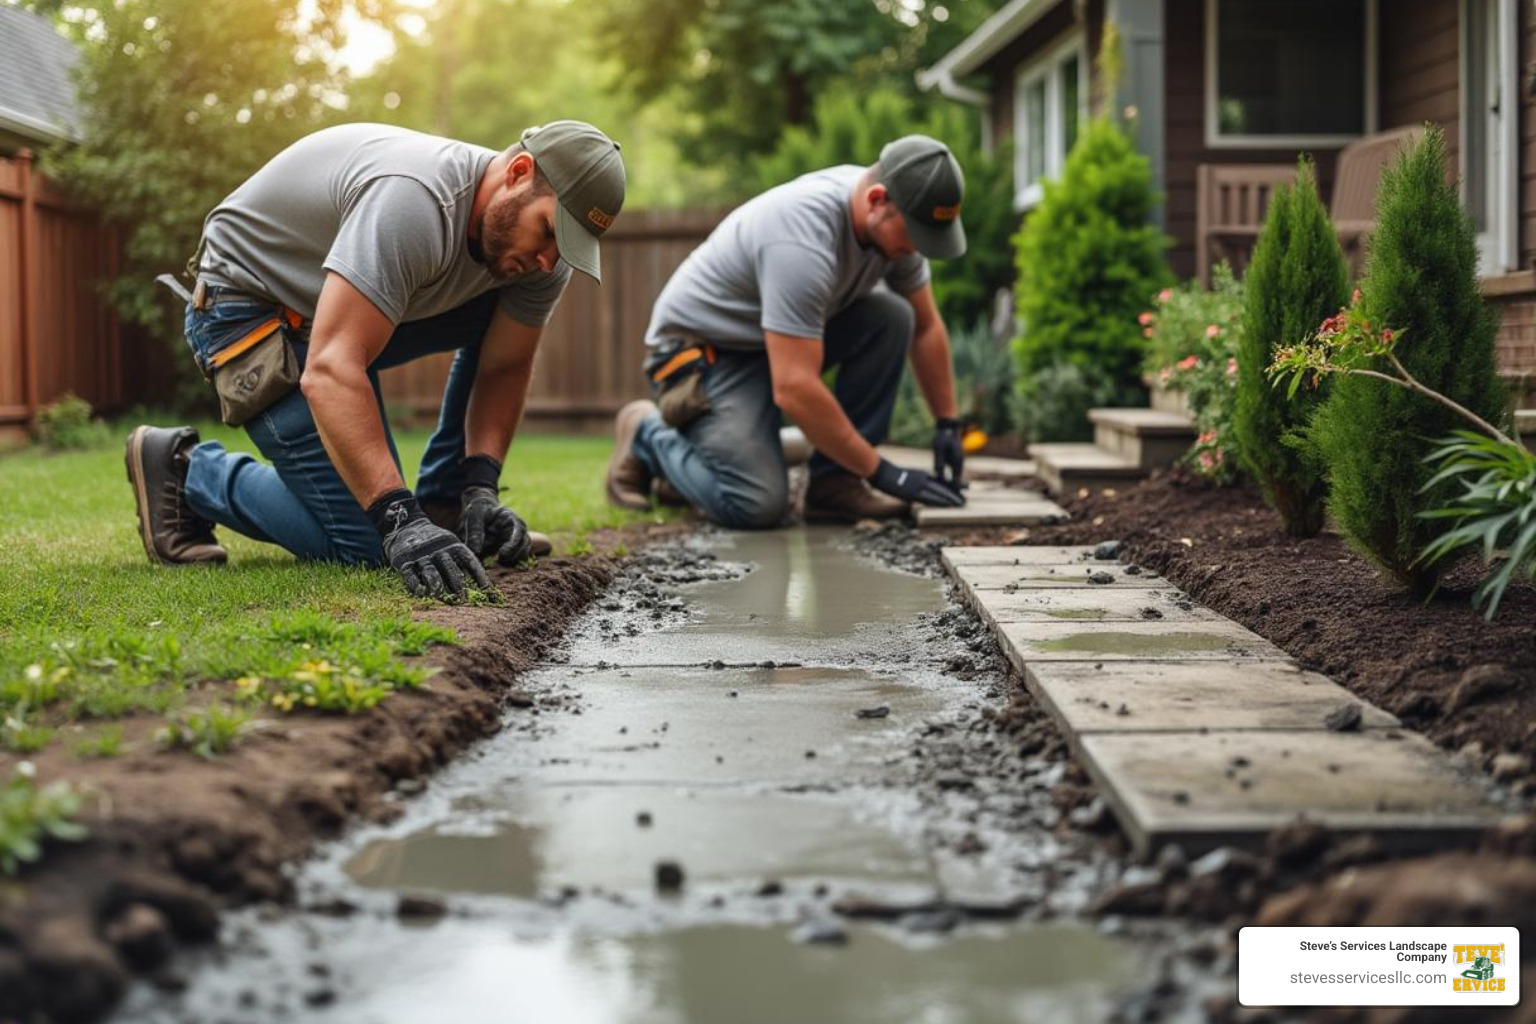
Our professional process ensures every single step is handled with care and expertise. From preparing the ground to applying the finishing touches, we guarantee a durable, stunning patio that will bring joy for years to come. We bring years of hands-on experience and all the right tools to tackle the heavy lifting and specialized tasks, making sure your investment is truly protected. Want to see more of what we do? Explore our comprehensive Hardscaping Services.
Preparing the Site: The First Step in How to Install a Concrete Slab Patio
Site preparation is, without a doubt, the most crucial phase when learning how to install concrete slab patio. Think of it as the invisible foundation that dictates how long and how well your patio will serve you. Get this right, and you’re set for success!
We kick things off with precise layout marking. After we’ve finalized your patio’s design and size, we use spray paint, stakes, and string to clearly mark out the area. We typically mark an area a bit larger than the final patio size – about 18 inches extra – to give us plenty of room to work. To make sure your patio is perfectly square, we use a time-tested trick called the 3-4-5 triangle method. It’s a simple but brilliant way to guarantee perfect right angles!
Next up is excavation. The depth we dig depends on how thick your concrete slab will be and what kind of subbase we’re using. For a typical 4-inch patio with a 4-inch gravel base, we’ll dig down about 8 inches from where the final patio surface will be. We use a “story pole” – a simple measuring stick – to keep our digging consistent across the whole area. And remember that slight slope we talked about earlier? We actually build that proper slope (1/8 to 1/4 inch per foot away from your home) right into the excavated base, ensuring water flows away from your house from day one.
This part of the job often calls for some serious muscle and professional equipment. We bring in excavators to dig efficiently and precisely, which is a huge time-saver compared to digging by hand! Once we’ve dug out the area, a plate compactor becomes our best friend. We use it to thoroughly compact the exposed sub-grade, preventing future settling and giving your patio a rock-solid foundation.
After digging, we lay down the gravel subbase. This is a vital layer, usually about 4 inches thick, made of compactable gravel. It’s absolutely essential not to pour concrete directly on dirt. Why? Because concrete can absorb water, and if it’s sitting right on dirt, water can collect underneath, leading to soil erosion and even damage to your patio over time.
A gravel subbase provides excellent drainage, stopping water from pooling and eroding the soil below. It also helps protect against frost heave in colder climates like Massachusetts, where freezing and thawing cycles can cause the ground to shift and crack concrete. We add the gravel in layers, compacting each one thoroughly with our plate compactor for maximum density.
Finally, it’s time to build the formwork. This means constructing a temporary frame, usually with sturdy 2×4 or 2×6 lumber, that outlines the exact shape and thickness of your patio. We secure these forms firmly with stakes driven every 36 inches along the outside. We carefully level the forms, making sure they are at the correct height and slope.
If your new patio will meet an existing concrete structure, we install isolation joints. These are typically 1/2-inch thick fiber boards that prevent the new concrete from sticking to the old, allowing each surface to move independently and preventing stress cracks. We also coat the inside of the forms with a release agent (like vegetable oil) so they can be easily removed once the concrete has hardened.
Reinforcement is also key for a truly durable patio. For most residential patios, we use either wire mesh (often 6×6-10/10, meaning 6-inch squares of 10-gauge wire) or steel rebar (1/2 inch thick, placed in a grid pattern). This reinforcement helps to minimize cracking and adds significant strength to the slab. We make sure it’s positioned correctly, usually lifted about 2 inches off the bottom of the form, or right in the center of the slab, to give it the most benefit. Sometimes, we also add fibermesh – tiny synthetic fibers mixed directly into the concrete – which further helps prevent little shrinkage cracks.
Pouring and Finishing: The Art of How to Install a Concrete Slab Patio
With the site carefully prepared and the forms perfectly set, we get to the exciting part: pouring the concrete! This stage demands speed and precision, because once the concrete arrives, it waits for no one!
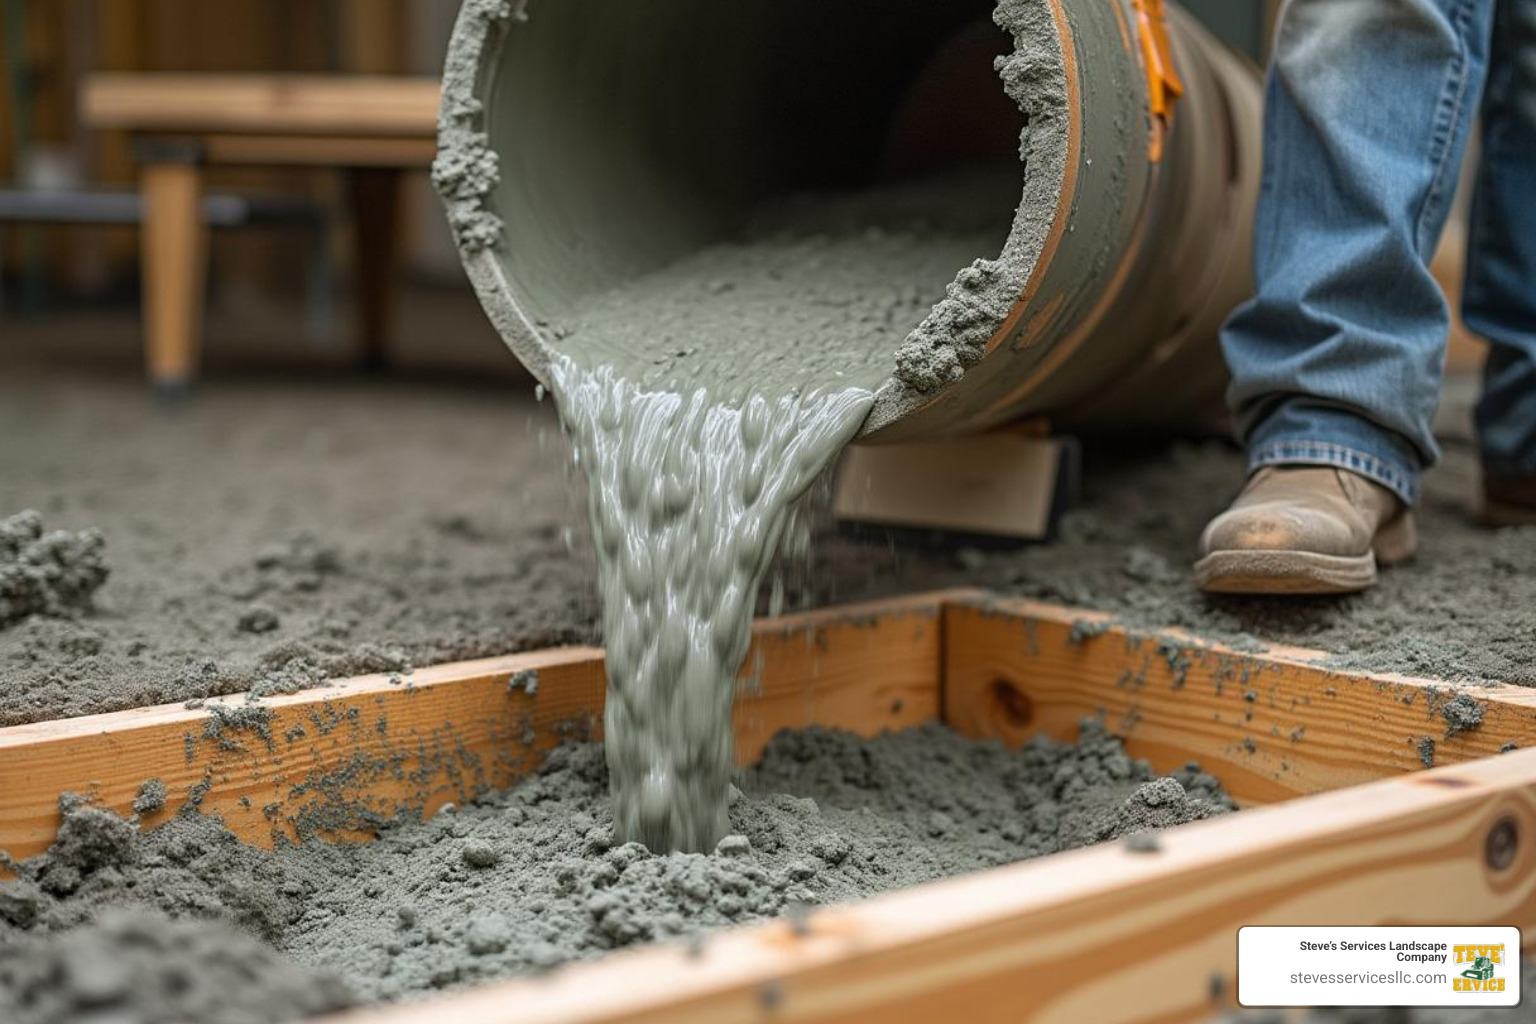
For most patio projects, especially those larger than a cubic yard, we highly recommend ready-mix concrete delivery. This takes away the hard work of mixing concrete on-site and ensures consistent quality. While mixing on-site is possible for tiny jobs, ready-mix is usually the way to go for its efficiency and uniformity. If you’re ever curious about how much concrete you might need for a project, you can easily use a concrete calculator for accurate estimates.
Once the concrete truck arrives, we carefully chute the concrete directly into the prepared forms, starting from one corner and moving across. We use shovels or hoes to spread the concrete evenly, making sure it fills every corner and edge of the form. As we spread, we work a shovel or rake up and down to remove any trapped air pockets, which can weaken the slab. We’re careful not to overwork the concrete at this point, as that can push the heavier stone particles to the bottom and bring too much fine material to the surface, affecting how durable and good-looking your patio will be.
The next step is screeding. Using a long, straight 2×4 board, we level the concrete surface by moving it across the top of the forms with a sawing motion. This scrapes away any extra concrete and brings the surface to the perfect height and smoothness.
After screeding, we use a bull float (for larger areas) or a darby (for smaller projects) to further smooth the concrete surface. This crucial step eliminates any remaining high or low spots and gets the surface ready for the final finishing touches. We patiently wait for the “bleed water” – the water that rises to the surface as the heavier concrete settles – to disappear before floating.
Once the bleed water is gone and the concrete begins to firm up, we do some hand troweling for that silky-smooth final finish. For the edges, we use an edging tool to create a nice, rounded edge. This not only looks professional but also helps prevent chipping and makes the patio safer.
For outdoor patios, we almost always apply a non-slip broom finish. This involves gently dragging a stiff broom across the surface when the concrete is still wet but firm enough to hold the texture. This creates a slightly rough, high-friction surface that offers excellent slip resistance, especially when wet, making your patio much safer for everyday use. We generally avoid using a steel trowel on outdoor surfaces, as it can create a very slick and dangerous surface when wet.
Finally, we create control joints. Concrete, being concrete, will eventually crack. Our goal isn’t to stop cracking entirely, but to control where those cracks happen. For patios larger than about 10 feet by 10 feet, control joints are absolutely necessary. We cut shallow grooves into the wet concrete, usually 1 to 1 1/2 inches deep (about a quarter of the slab’s thickness), in a grid pattern, typically every 8 to 10 feet. These joints intentionally weaken the slab at specific points, encouraging any future cracks to form neatly along these lines, keeping your patio looking great for years.
Curing and Sealing: The Final Step for a Durable Patio
The work isn’t quite done once the concrete is poured and finished. The curing process is just as vital as the pour itself for making sure your concrete patio is strong, durable, and lasts a lifetime. Concrete actually gains its maximum hardness over time, specifically about 28 days to reach its full strength. However, it typically sets hard enough for light foot traffic in 24 to 48 hours.
The secret to proper curing is keeping the slab moist, especially during the first 7 days (with a minimum of 3 days). If the concrete dries out too quickly, it can lead to a weaker surface, a powdery finish, or even premature cracking. We use various methods to ensure proper moisture retention, such as covering the slab with plastic sheeting to trap moisture, or using wet burlap or commercial curing compounds. This slow and steady drying process allows the concrete to fully hydrate, developing all its intended strength and durability.
Once the concrete has fully cured, we strongly recommend sealing the concrete patio. While it’s not strictly needed for the patio’s structure, sealing offers big benefits. A high-quality sealer protects your patio from water damage, preventing problems like efflorescence (those unsightly white deposits caused by moisture escaping from below). It also resists stains from leaves, spills, and other messes, making your patio much easier to clean and maintain. Plus, if you’ve chosen colored concrete, sealing helps protect that beautiful color from fading due to sun exposure. Sealing is a smart, proactive step that protects your investment and keeps your patio looking its best for many, many years to come.
For any questions about concrete maintenance or if you need professional help with your patio project, our team is always ready to lend a hand. You can also learn more about our local services on our Masonry and Concrete Contractors Near Me page.
Frequently Asked Questions About Concrete Patios
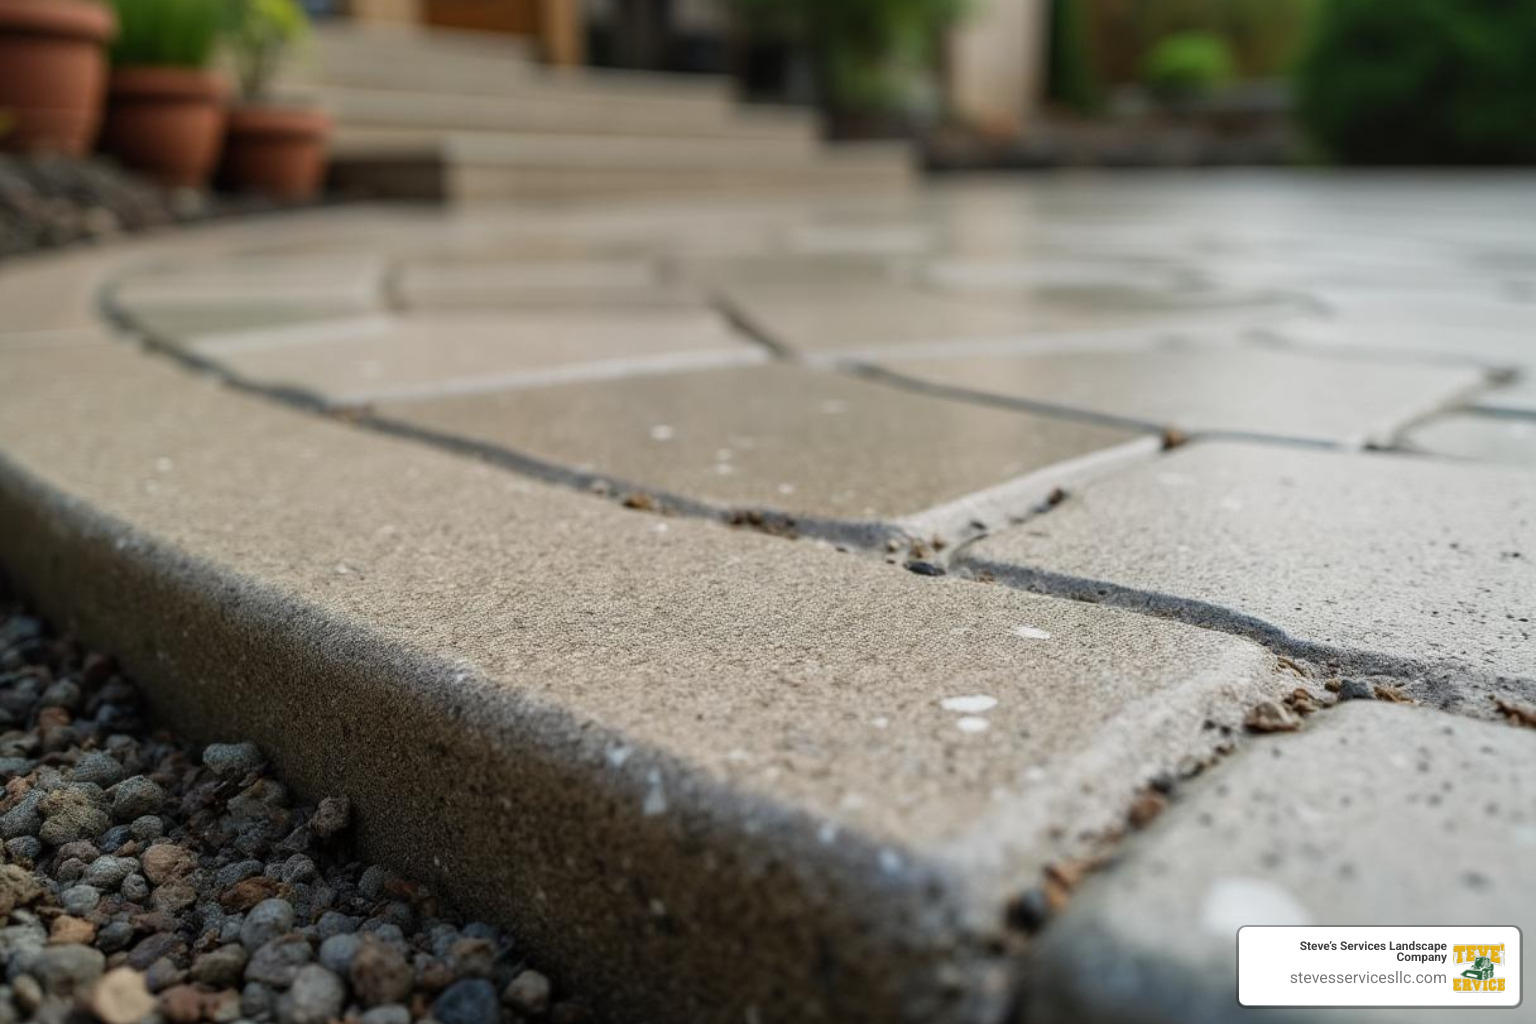
Here at Steve’s Services, we talk a lot about how to install concrete slab patio projects, and we often hear some great questions from homeowners like you. It’s totally normal to have queries about such a big investment! So, we’ve gathered some of the most common questions we receive about concrete patios and are happy to share our expert answers.
How thick should a concrete patio slab be?
This is one of the most common questions we get, and for good reason! The right thickness ensures your patio lasts for decades. For most standard residential patios, where you’ll have typical foot traffic, a grill, and patio furniture, a 4-inch thick concrete slab is usually just right. This thickness provides plenty of strength and durability for everyday enjoyment.
However, if you’re dreaming bigger – perhaps a large, permanent gazebo, a heavy hot tub, or an extensive outdoor kitchen with substantial appliances – we strongly recommend increasing the thickness. In these cases, we’d go for 6 inches or more. This added thickness provides the crucial structural support needed to prevent cracking and settling under those heavier loads. And remember, it’s always smart to check your local building codes, as they might have specific requirements for slab thickness in your area!
How long does it take for a concrete patio to cure?
Ah, the waiting game! Patience truly is a virtue when it comes to concrete. While your new patio will be firm enough for foot traffic in about 24 to 48 hours, it’s important to understand that this isn’t its full strength. Concrete undergoes a fascinating chemical process called “hydration,” and this process continues for quite a while.
It takes about 28 days for concrete to fully cure and reach its maximum hardness and compressive strength. During this initial 28-day period, proper curing practices – like keeping the concrete moist – are absolutely vital. This ensures it reaches its full potential and helps prevent premature cracking. We usually advise against placing heavy items or driving vehicles on the patio until at least 7 to 10 days have passed, and for truly maximum durability, waiting the full 28 days is ideal.
Does a new concrete patio need to be sealed?
This is another big one, and our answer is a resounding YES, we highly recommend sealing your new concrete patio! Think of sealing as giving your patio an invisible shield. While concrete is incredibly durable, it’s also a porous material, meaning it has tiny little openings that can absorb liquids.
Sealing provides a protective barrier that offers several fantastic benefits. Firstly, it’s a great protection from water damage, which is especially important in areas with freeze-thaw cycles. Water getting into those pores and freezing can lead to cracking and spalling over time. Secondly, a good sealer helps your patio resist stains from things like spilled drinks, oil, or fallen leaves, making cleanup much easier. It also prevents efflorescence, which is that unsightly white, powdery residue that can sometimes appear on concrete surfaces.
Overall, a sealed patio is simply easier to maintain and keeps looking its best. Plus, for colored or decorative finishes, sealing can truly improve the color and finish, making them pop and protecting them from fading. It’s a small investment that adds a lot to the longevity and beauty of your concrete patio!
Protecting Your Investment with Professional Installation
As we’ve journeyed through the steps, it’s clear that learning how to install concrete slab patio is quite an undertaking! From the initial site assessment and meticulous preparation to the precise pouring, careful finishing, and crucial curing process, every single stage is vital. It’s a project that truly demands skill, specialized tools, and a deep understanding of how concrete behaves. Think of it like baking a perfect cake – one wrong ingredient or step, and the whole thing can fall flat!
While the idea of a do-it-yourself project can be incredibly tempting (and we applaud that can-do spirit!), concrete work is remarkably unforgiving. Unlike painting a wall where a mistake can be painted over, errors in concrete can be costly and incredibly difficult to fix. An improperly prepared subbase might lead to your patio sinking or cracking prematurely.
Incorrect sloping could turn your beautiful outdoor space into a giant puddle after every rain. And poor finishing techniques? Well, that can result in a surface that’s not only unsightly but also unsafe. These aren’t just minor hiccups; they can truly compromise your patio’s structural integrity and its ability to last for years to come.
That’s where Steve’s Services Landscape Company steps in. We believe in protecting your hard-earned investment with unparalleled professional expertise. Our skilled team has poured countless patios, bringing years of hands-on experience in hardscaping to every single project. We serve communities throughout Massachusetts, including Everett, Lynnfield, Medford, and Reading, ensuring that homes in our area receive the highest quality outdoor spaces.
Choosing a professional like Steve’s Services means you’re getting more than just a patio poured. You’re getting peace of mind. We offer comprehensive services, personalized solutions custom specifically to your landscape and vision, and truly exceptional customer service from start to finish. We handle the heavy lifting, the technical details, and the precision work, so you don’t have to.
For a durable and beautiful outdoor space that lasts for decades, trust the experts. We’re proud to be a leading Concrete Patio Contractor Near Me for homeowners seeking quality that endures. Let us help you create the perfect outdoor living area with your new Patios and Decks project. Contact us today for a consultation and let’s bring your patio dreams to life!
