How to Prepare Lawn for Hydroseeding: Top Steps 2024
How to prepare lawn for hydroseeding effectively requires careful planning and execution to ensure a lush and vibrant outcome. Here’s a quick rundown to guide you:
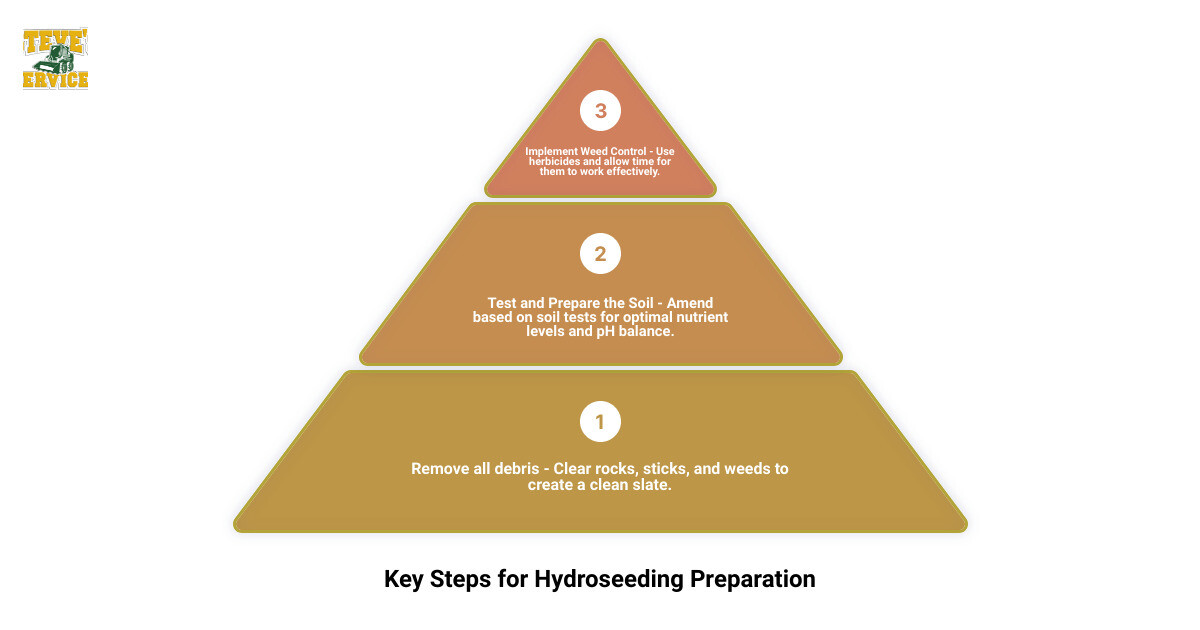
- Remove all debris: Clear rocks, sticks, grass, and weeds.
- Test and prepare the soil: Amend the soil as needed based on soil tests.
- Implement weed control: Use herbicides and allow time for them to work.
- Ensure proper irrigation: Plan for water needs, especially during dry periods.
- Final grading: Level the soil and ensure it’s firm but not compacted.
Taking these steps seriously is key to successful outcomes.
Hydroseeding is a fast, cost-effective method to establish a lush lawn, making it especially appealing to homeowners and commercial property managers in places like Massachusetts. Proper preparation is essential as it lays the groundwork for a long-lasting, healthy lawn. Without it, you risk shallow roots, uneven growth, and other issues that could compromise your lawn’s appearance.
I’m Steve Sylva, with over 25 years of expertise in helping landscapes flourish. My insight into how to prepare lawn for hydroseeding ensures you achieve a robust lawn foundation. Let’s explore more detailed steps to transform your outdoor space effectively.
Easy how to prepare lawn for hydroseeding word list:
– how to care for a hydroseeded lawn
– hydroseeding existing lawn
– when can i walk on hydroseeded lawn
Essential Steps to Prepare Your Lawn for Hydroseeding
Site Clearing
Before you can start hydroseeding, it’s crucial to clear the site thoroughly. This means removing all debris like rocks, sticks, and any existing vegetation, such as grass and weeds. A clean slate ensures that the seeds can make direct contact with the soil, which is essential for germination.
Consider this: Richard Jenson, a homeowner who followed these steps, saw a significant difference in his lawn’s growth just four weeks post-hydroseeding compared to his neighbors who skipped this step. Clearing the site is the foundation of a successful hydroseeding project.
Soil Testing and Amendments
Once your site is clear, the next step is soil testing. Testing helps determine nutrient levels, pH balance, and the presence of organic matter. You can find soil test kits at major hardware stores or hire a local service for more precise results.
- Nutrient Levels: Ensure your soil has the right nutrients. If not, consider adding fertilizers to boost growth.
- pH Balance: Aim for a neutral pH. If your soil is too acidic or alkaline, amendments can correct this.
- Organic Matter: Incorporate materials like compost or peat moss to improve soil structure and fertility.
Weed Control
Weed control is a critical step before hydroseeding. Use systemic herbicides to eliminate weeds effectively. Timing is key here:
- Apply the herbicide and wait for it to take effect, typically 7-15 days depending on the product.
- Allow dormant weed seeds to germinate by watering, then treat them again.
This method reduces the chance of weeds competing with your grass seeds for nutrients and space. Patience is vital—allow the herbicides to work their magic before moving on to the next step.
By addressing these essential steps—site clearing, soil testing and amendments, and weed control—you set the stage for a successful hydroseeding project. These preparations ensure that your lawn will not only look great but thrive long-term.
How to Improve Soil Quality Before Hydroseeding
Professional Soil Preparation
For optimal results in preparing your lawn for hydroseeding, consider professional soil preparation services. This ensures that the soil is properly aerated, allowing air, water, and nutrients to reach grass roots more effectively. Professionals can till the soil to a depth of at least 4 to 6 inches, which is ideal for healthy grass growth.
Tools and Expertise: Professional landscapers use specialized equipment like rototillers to efficiently handle large areas. Their expertise ensures that soil amendments are evenly distributed, and they are trained to avoid any underground utilities or irrigation systems.
Selecting and Applying Topsoil
Enhancing your lawn with quality topsoil can significantly improve its health and appearance. If your existing soil is lacking, professionals can add at least 4 inches of nutrient-rich topsoil, providing an excellent foundation for your grass.
Depth and Consistency: Experts ensure that the topsoil layer is even across the entire area, preventing issues like water pooling and uneven grass growth.
Regional Suitability: Professionals can recommend topsoil that matches your regional soil type. For those in Massachusetts, Steve’s Services offers tailored advice and solutions.
Enriching with Organic Matter
Incorporating organic matter into your soil is essential for creating a nutrient-rich environment. Professional services can add organic materials like compost and peat moss to improve soil structure and moisture retention.
- Compost: Provides essential nutrients and supports a healthy soil ecosystem.
- Peat Moss: Enhances moisture retention, crucial during grass germination.
- Fertilizers: Based on soil test results, professionals can apply specific fertilizers to address any nutrient deficiencies.
By entrusting this process to experts, you ensure a fertile bed that promotes deep root growth and robust grass development, leading to a lush, healthy lawn after hydroseeding.
Optimizing Water and Irrigation Systems
Proper watering is key to successful hydroseeding. To get the best results, your irrigation system needs to be set up correctly and used effectively.
Setting Up Sprinklers
Before you begin hydroseeding, make sure your sprinklers are ready to go.
Coverage Check: Ensure that your sprinklers cover the entire lawn area evenly. Uneven water distribution can lead to patchy grass growth. Walk around your lawn while the sprinklers are on to check for dry spots or areas with excessive water.
Adjustment Tips: Adjust sprinkler heads to avoid watering sidewalks or driveways. If some areas are too wet or dry, tweak the nozzle or the angle of the sprinkler head. Regular inspection and cleaning of sprinkler heads will help prevent clogs and ensure consistent water flow.
Watering Before Hydroseeding
Getting the watering schedule right is crucial for the seeds to germinate properly.
Frequency: Water the area 2-3 times a day for about 10-20 minutes each session. This keeps the soil consistently moist but not waterlogged. In hotter, drier weather, you might need to water more frequently.
Quantity: Aim for light, even watering. Avoid creating puddles or letting water pool. This can suffocate the seeds and prevent them from sprouting. Use a light spray setting on your hose or set your sprinklers to a gentle mode to ensure a fine mist.
By carefully setting up your sprinklers and maintaining a consistent watering schedule, you’ll create the ideal conditions for your hydroseed to thrive. Next, we’ll look at how to prepare your lawn for hydroseeding, focusing on grading and final soil preparation.
How to Prepare Lawn for Hydroseeding
For a lush and healthy lawn, professional preparation is key. At Steve’s Services Landscape Company, we ensure your lawn is perfectly prepped for hydroseeding.
Professional Grading Services
Proper grading is essential for effective drainage and a smooth lawn surface.
Expert Sloping: Our team expertly slopes the soil away from buildings and foundations to prevent water damage. This ensures efficient water drainage and protects your structures.
Precision Leveling: We use specialized equipment to achieve a uniform surface, free of bumps or dips. This precision leveling helps the hydroseed slurry adhere evenly, promoting consistent grass growth.
Comprehensive Soil Preparation
After grading, we focus on the final touches to prepare your lawn for hydroseeding.
Thorough Raking: Our professionals rake the soil to remove debris and break up clumps, ensuring the soil is loose enough for optimal seed rooting.
Effective Rolling: We use a lawn roller to firm the soil slightly, creating a stable seedbed while maintaining good seed-to-soil contact. This step is crucial for successful grass establishment.
Soil Firming: Our team checks for soft spots and firms them gently, ensuring the soil is firm but not compacted, allowing for easy root penetration.
With these expert steps, your lawn is ready for hydroseeding. Trust Steve’s Services Landscape Company for a vibrant and successful lawn. For more information, visit our website.
Frequently Asked Questions about Preparing for Hydroseeding
Can I hydroseed over existing grass?
Hydroseeding over existing grass is generally not recommended. The primary reason is that the slurry mixture used in hydroseeding may smother the existing grass, leading to poor results. If you need to fill in patches in an existing lawn, consider overseeding instead. This involves using a power rake and hand seeding to improve existing grass without harming it. If hydroseeding is necessary, ensure the slurry is the right consistency to avoid damaging the existing turf.
Should I aerate before hydroseeding?
Aeration before hydroseeding can be beneficial, especially if your soil is compacted. Aerating involves perforating the soil with small holes to allow air, water, and nutrients to penetrate the grass roots. This helps the new seeds establish more effectively. However, if you have already tilled and loosened your soil as part of your preparation, additional aeration may not be necessary. Always assess the condition of your soil to determine the best course of action.
How long do you have to stay off the grass after hydroseeding?
After hydroseeding, it’s crucial to avoid walking on the newly seeded area for about 5 weeks. This allows the grass to establish without disturbance. Keeping off the grass helps prevent damage to the new seedlings and ensures uniform growth. If possible, set up barriers to keep pets and wildlife off the area as well. Once the grass reaches about 3 to 4 inches in height, you can mow it for the first time, which usually indicates it’s safe to walk on.
With these FAQs answered, you should feel more informed about preparing your lawn for hydroseeding. If you have further questions or need professional help, don’t hesitate to reach out to Steve’s Services Landscape Company.
Conclusion
Preparing your lawn for hydroseeding is a step-by-step process that ensures a lush and healthy outcome. Let’s quickly recap the essential steps: site clearing, soil testing, weed control, soil amendments, grading, and final soil preparation. Each of these steps plays a crucial role in setting the stage for successful hydroseeding.
Patience is key. After hydroseeding, the seeds need time to establish themselves. Avoid walking on the newly seeded area for about five weeks to give your grass the best chance to grow strong and even. This waiting period, though challenging, is essential for achieving the lush, green lawn you desire.
If you’re feeling overwhelmed or unsure about any part of the process, don’t hesitate to reach out for professional assistance. At Steve’s Services Landscape Company, we specialize in creating beautiful lawns with our expert hydroseeding services. Our experienced team is ready to guide you through every step, ensuring your outdoor space transforms into a vibrant and sustainable landscape. Contact us today to get started on your dream lawn!
