Paver Patio: Top Tips for Perfect Results in 2024
For those seeking to transform their outdoor space, a paver patio offers a robust and aesthetically pleasing solution. Offering a perfect balance between functionality and style, paver patios are celebrated for their versatility and durability. Here’s a quick overview of why a paver patio could be a great choice:
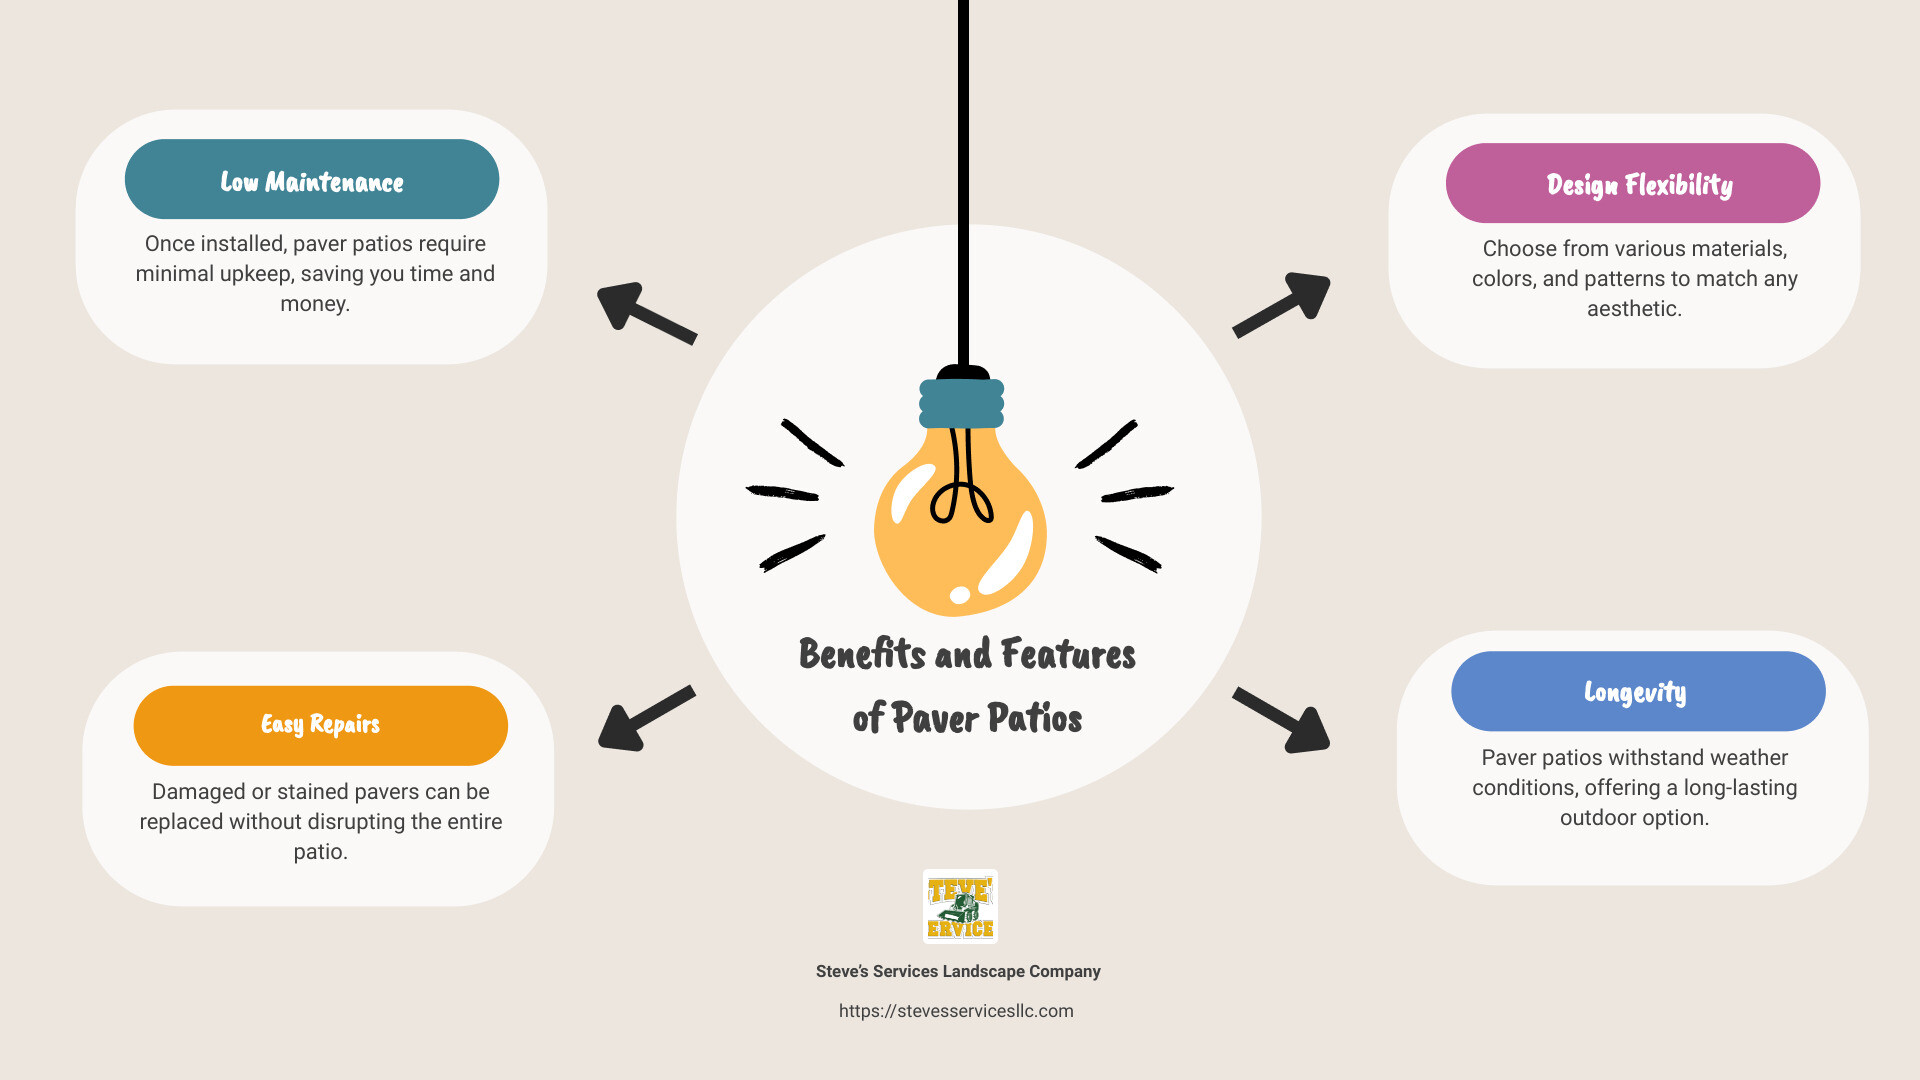
- Low Maintenance: Once installed, paver patios require minimal upkeep, saving you time and money in the long run.
- Easy Repairs: Damaged or stained pavers can be easily replaced without disrupting the entire patio.
- Design Flexibility: With a variety of materials, colors, and patterns available, paver patios can be custom to match any aesthetic or space.
- Longevity: Built to withstand various weather conditions, paver patios are a long-lasting option for outdoor living spaces.
Steve’s Services Landscape Company specializes in crafting beautiful and functional hardscapes, catering to property owners across suburban Massachusetts. With over 25 years of experience, I, Steve Sylva, have been dedicated to providing high-quality paver patio installations custom to client needs. Trust our expertise to bring your outdoor visions to life.
Paver patio glossary:
– building a patio
– outdoor patio design
– patio door install
Planning Your Paver Patio with Professional Help
When planning your paver patio, enlisting professional assistance can ensure a successful outcome. Let’s explore how experts can help you choose the right materials and design the perfect layout.
Choosing the Right Paver Material
Selecting the right material is crucial for both the look and durability of your patio. Here are some popular options that professionals can help you navigate:
- Concrete Pavers: Known for their affordability and versatility, concrete pavers are a popular choice. They come in various shapes and colors, allowing for creative designs. Plus, they’re durable and easy to replace.
- Brick Pavers: For a classic look, brick pavers offer timeless appeal. They are slightly more expensive than concrete but provide a warm, rustic charm. Their natural color variations can add character to your patio.
- Natural Stone Pavers: If you’re aiming for a high-end aesthetic, natural stone pavers like granite or limestone are stunning choices. Although they are the most expensive option, their unique textures and colors can lift your outdoor space.
Cost Comparison: When choosing materials, consider your budget. Concrete pavers are generally the most budget-friendly, followed by brick, with natural stone being the priciest. However, investing in higher-quality materials can increase your property’s value and curb appeal. Professionals can provide detailed cost estimates and help you make informed decisions.
Designing Your Patio Layout
Designing your patio layout involves more than just picking materials. Here are some factors that professionals can assist with:
- Paver Patterns: Patterns like herringbone, basket weave, or running bond can add visual interest. Experts can recommend styles that complement your home’s architecture and your personal taste.
- Shape Considerations: Rectangular and square shapes are common, but don’t shy away from curves or circular designs if they suit your space. Curved designs can create a softer, more organic look, and professionals can ensure these designs are executed flawlessly.
- Size Considerations: Plan a size that fits your yard and meets your needs. A smaller patio might be perfect for intimate gatherings, while a larger one can accommodate more guests and furniture. Professionals can help optimize the space available.
- Intended Use: Consider how you’ll use the space. Will it be for dining, lounging, or entertaining? Your intended use will influence the size and layout of your patio. Professionals can tailor the design to suit your lifestyle.
- Budget Planning: Keep your budget in mind throughout the planning process. Balancing cost with quality and design will ensure a patio that meets your needs and improves your outdoor living area. Professionals can help you stay within budget while achieving your desired outcome.
With these tips in mind, and with the help of professionals, you’re ready to start planning a paver patio that suits your style and budget. Next, we’ll explore how to prepare the site for installation.
Preparing the Site
Creating a solid foundation for your paver patio is crucial for its longevity and appearance. At Steve’s Services Landscape Company, we ensure that every step is handled with precision and expertise to guarantee a durable and aesthetically pleasing patio. Our process involves three main steps: excavating the area, laying the base layer, and adding the top layer. Each step is essential to ensure proper drainage and stability.
Excavating the Area
Excavation is the first and often the most labor-intensive step in preparing your site. Our team will remove about 8-10 inches of soil to make room for the base and top layers. This depth accommodates a 4-6 inch gravel base, a 1-inch top layer, and the thickness of your pavers.
We use specialized equipment to make this task efficient and precise. Our professionals ensure the area is excavated evenly, with a slight pitch of 1/8 inch per foot to facilitate proper water drainage.
Laying the Base Layer
Once the area is excavated, it’s time to lay the base layer. We start by adding 1-2 inches of 3/4 inch clean gravel. This type of gravel allows water to drain effectively and prevents moisture buildup under your patio. After spreading the gravel, we compact it using professional-grade equipment.
Next, we lay down a commercial-grade landscape fabric. This fabric helps lock the layers in place and minimizes settling. We then add the remaining gravel to reach the desired base thickness, and compact it again. Our team ensures the final grade is pitched correctly to support drainage.
Adding the Top Layer
The top layer consists of 1/4 inch or 3/8 inch clean chip stone. Unlike sand, chip stone won’t wash away and allows for better water flow. To achieve a level surface, we use 3/4 inch steel pipes as guides. Our experts lay the pipes across the area and add chip stone gradually.
We screed the stone using a long straight edge, ensuring the surface is even and properly pitched. Our team avoids walking on the screeded stone to maintain its level. As we progress, we move the steel pipes and fill in their tracks with additional chip stone.
By entrusting Steve’s Services Landscape Company with your project, you’ll have a stable and well-drained foundation for your paver patio. With the site prepared, we are ready to move on to installing the pavers, ensuring a professional and high-quality finish.
Installing the Pavers
Now that your site is prepped and ready, it’s time to have the pavers installed by professionals. This step involves careful placement and alignment to ensure a durable and visually appealing paver patio.
Laying the Pavers
Our team will begin by setting the pavers in your desired pattern. A popular choice is the running bond pattern, but you could also opt for a random pattern or even a herringbone design. Each pattern offers a unique look, so choose one that complements your space.
We start from one corner and work our way out, using a rubber mallet to gently tap each paver into place. This ensures they sit snugly on the base layer. We maintain consistent spacing between the pavers to allow for joint filling later.
Consider adding a soldier course, which is a row of pavers laid lengthwise along the edge of the patio. This not only frames the patio but also helps hold the pattern in place.
Cutting and Shaping Pavers
In areas where full pavers won’t fit, such as around curves or edges, our team will cut and shape the pavers for a perfect fit. A wet saw is ideal for making straight cuts, while an angle grinder works well for more intricate shapes.
Before cutting, we mark the pavers with chalk or a pencil to outline the areas to be cut. For curves, we use a flexible object like a garden hose to trace smooth, even lines.
Safety is key when cutting pavers. Our professionals always wear protective gear, including goggles and gloves, to protect themselves from dust and debris.
With your pavers laid and cut to fit, our team will move on to the finishing touches that will lock everything in place.
Finishing Touches
Once the pavers are laid by our professional team, it’s time to add the finishing touches to your paver patio. This includes installing edging and filling the joints for a polished, long-lasting finish.
Installing Paver Edging
Edging is crucial for keeping the pavers in place and giving your patio a clean, finished look. At Steve’s Services, we offer two main options: plastic edging or concrete edging.
Plastic Edging: This is a popular choice because it’s easy to install and adjust. Our team will lay the plastic edging along the perimeter of your patio and secure it with 10-inch galvanized spikes. These spikes are strong and resist rust, ensuring your edging stays in place over time.
Concrete Edging: For those who prefer a more permanent solution, concrete edging is a great choice. It provides a solid barrier that won’t shift, even in harsh weather. Our skilled professionals handle the installation to ensure a perfect finish.
Both options help maintain the integrity of your patio by preventing the pavers from spreading over time.
Filling Joints with Poly Sand
Filling the joints between your pavers is the final step to lock them in place. Polymeric sand is highly recommended for this task. It’s specially formulated to harden and bind the pavers together, reducing the risk of weeds and ants.
- Spread the Sand: Our team will pour the polymeric sand over the patio and use a broom to sweep it into the joints, ensuring all gaps are filled.
- Compact the Sand: We use a compactor to vibrate the sand into the joints. A simple trick is to place a piece of scrap carpet under the compactor to avoid scratching your new pavers.
- Activate with Water: We gently spray water over the entire patio to activate the polymeric sand. The water causes the sand to harden, creating a solid bond between the pavers. We take care not to over-soak, as this can wash away the sand.
Backfilling
Finally, we backfill around the edges of your patio using leftover topsoil. This not only supports the edging but also helps blend the patio seamlessly into your landscape.
These finishing touches ensure that your paver patio is not only beautiful but also built to last. With everything in place, you’re ready to enjoy your new outdoor space.
Next, we’ll address some common questions about paver patios to help you make the most out of your investment.
Frequently Asked Questions about Paver Patios
Is it cheaper to lay concrete or pavers?
When deciding between concrete and pavers, cost is a major factor. Generally, concrete is cheaper upfront. However, paver patios offer better long-term value. Why? Because pavers are easier to repair and maintain. If one cracks, you can replace just that one. With concrete, a crack often means a costly repair job for the whole slab. Over time, the maintenance savings from pavers can outweigh the initial cost difference.
Are paver patios worth it?
Absolutely! Paver patios are a fantastic investment for several reasons. First, they offer significant aesthetic appeal. With a wide range of styles and patterns, they can improve the beauty of any outdoor space. Second, they are low-maintenance. Unlike wooden decks that require regular staining or sealing, pavers need minimal upkeep. Third, they are durable and long-lasting. A well-installed paver patio can last for decades, adding both functionality and value to your home.
Can I lay pavers on grass?
While it might be tempting to lay pavers directly on grass for a quick fix, it’s not recommended for a stable, long-lasting surface. Grass lacks the firm base needed to support pavers properly. Over time, this can lead to uneven surfaces and shifting. Instead, it’s crucial to prepare a proper base. This involves removing the grass, leveling the soil, and adding a compacted gravel layer. For a temporary solution, consider using stepping stones, but remember they won’t offer the same stability as a fully prepared paver patio.
Conclusion
In summary, paver patios are a smart choice for homeowners looking to improve their outdoor spaces. They offer a blend of beauty, durability, and low maintenance, making them a worthwhile investment. With a variety of styles and patterns, you can create a patio that perfectly complements your home’s aesthetic.
The benefits of paver patios are numerous. They provide significant aesthetic appeal, changing your yard into a charming outdoor living area. They are also designed for longevity, capable of withstanding the elements for decades. Additionally, maintenance is minimal compared to other options like wooden decks. If a paver becomes damaged, you can simply replace that one piece, saving time and money in the long run.
At Steve’s Services Landscape Company, we specialize in creating beautiful and functional outdoor spaces. Our skilled team is dedicated to providing personalized solutions custom to your needs. Whether you’re in Everett, MA, or any of the surrounding communities we serve, we’re here to help you achieve your vision for a stunning outdoor living area.
Ready to transform your outdoor space with a paver patio? Contact us today to get started and make your backyard the centerpiece of your home.
